Cubemaps and Reflections
Welcome to my second blogpost about our 2nd homework in Computer Graphics 2 class.
In this assignment we worked with static and dynamic cubemaps and reflections. Again I worked step by step and I will be sharing my process with you.
 |
| Figure 0: HW2 final result |
First Step: Static Cubemap
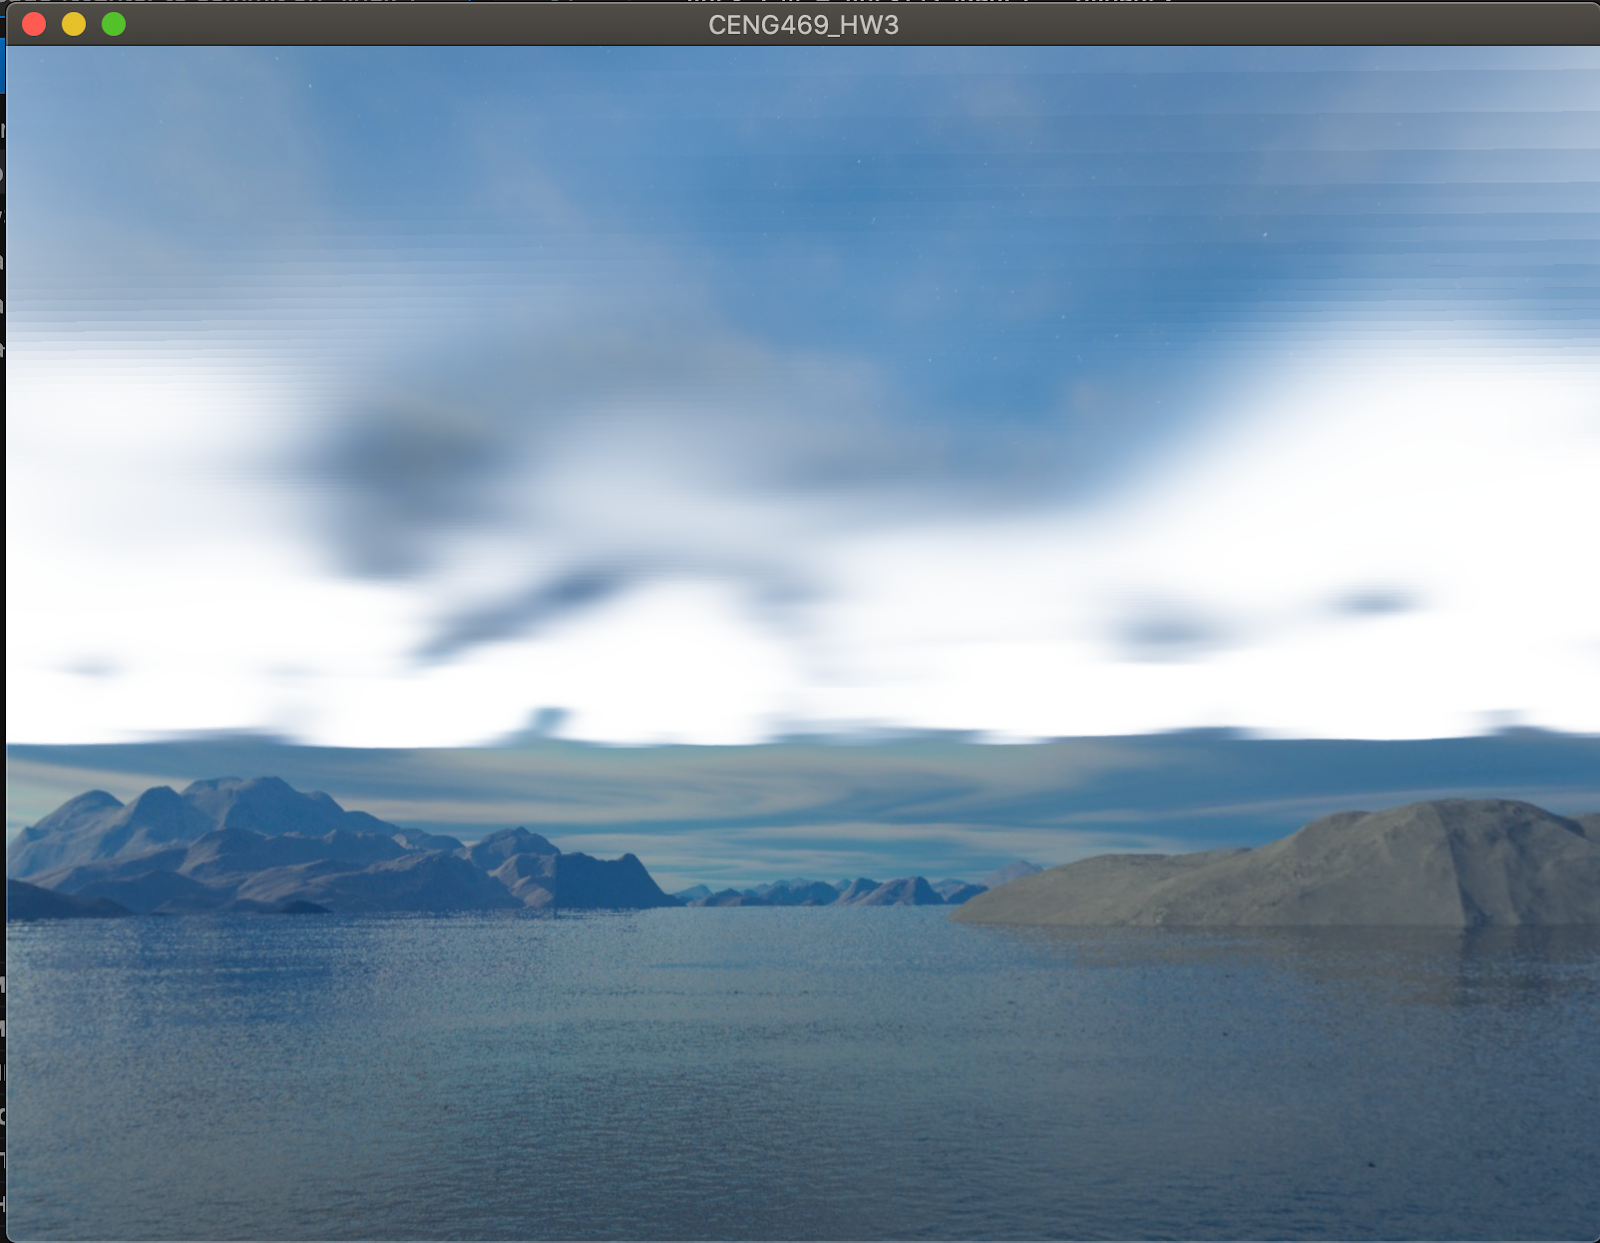
Firstly, I wanted to show our environment correctly before going to other steps. This is done with static cubemapping. After creating a cubemap texture from the given 6 images, I put these textures on a cube object with [-1,1] dimensions to work correctly with texture coordinates. After putting my camera on (0,0,0) position, I was able to see my environment.
After showing environment, I wanted to show the ground. I used the ground object that was given to me. But in addition I assigned it texture coordinates given below, to create a repeated texture on the ground rather than having a distorted result. I also rotated the ground object 90 degrees to have a horizontal surface.
Third Step: Rendering the Car and Camera Positions
After ground, I wanted to show our car and have the correct camera positions that depends on the user input. On default, user sees the car from behind. Firstly, depending on which side the user wants to see the car that is on the (0,0,0) position initially, I rotated the camera positions and look at positions by 90, 180 or 270 degrees to show the correct side of the car. I also applied this rotations to the static cubemap.
Secondly, I implemented the car's rotations on user input. I rotated the car and its camera by the current angle that increases and decreases according to user input around the y axis. I also applied this rotation to the static cubemap.
Last step was the car's displacement. Since user changes the velocity and not the car's positions directly, I kept the velocity. Normally without any rotations the car goes on the (0,0,1) vector. By rotating this vector according to rotation by user input and multiplying the result by the current velocity and adding this to the car's last position, we get the new position. For the camera, I translated it by the car's current position. A side note here is that I did not apply this translation to the cubemap camera to have the image of a infinite environment.


Comments
Post a Comment