Surface Rendering with Bezier Surfaces
Welcome to my first blog post which will be about our first assignment in CENG469.
In this assignment we were asked render the surface whose information was given in the input with ambient lighting and diffuse and specular shading effects of the given point lights. We also needed to be able to change the sample size, rotation angle and coordinates of this surface according to user interaction.
First step: Render a flat surface
Firstly, I wanted to be able render a flat surface without any height component on the XY plane. First step was parsing the input and calculating how many vertical and horizontal bezier surfaces there are. Instead of sending all of the vertices to vertex shader at once, I have created sampleSize x sampleSize vertex buffer and created its index array buffer. Then for every bezier surface, I sent this buffer to vertex shader with the horizontal and vertical Bezier surface counts and the surface’s index. Using these data, vertex shader calculates what is vertical and horizontal index of this surface. According to these, it finds the borders of the surface (xmin, xmax, ymin, ymax). Vertex shader then calculates the x and y coordinates of the vertex according to these border values and gl_vertexID which is the index of the vertex on this surface. I used the gl_vertexID in a similar way I used the surface index to find where on the bezier surface the vertex is.
Figure 1 can be observed to understand how I interpreted the surface indices.
I chose to calculate the transformation, perspective and viewing matrixes in the CPU and send these to vertex shader as uniforms. Vertex shader then applies these matrices to the calculated coordinates to show it on the window screen.

Figure 1: Surface indices Figure 2: rendering of input1 with rotationaAngle = 0

Second step: Calculate the heights
After finding xy coordinates next step was to calculate the height of the surface with given control point heights. As before, as I was sending the vertex and index buffers to vertex shader for every bezier surface, I also sent the control point heights of that surface. After calculating s and t values from the x, y and border values, vertex shader was able to find the height of the vertex using the Bezier Surface formula.
 |
| Figure 3: rendering of input2 |
 |
| Figure 4: rendering of input2 with less sample size |
Third step: Finding normals and lighting
I decided to do the lighting in the fragment shader. To do this, I sent the point lights’ position and color intensities from CPU to fragment shader using uniforms. Now all fragment shader needed was the position of the fragment and the normal data from vertex shader.
The position of the fragment was found by multiplying the transformation matrix and the (x,y,z) coordinates in the vertex shader.
Then all that is left is to do in the vertex shader was to find the normals. I have had some difficulties here. Thus, I decided to calculate the tangent vectors’ (x,y,z) components one by one. After finding the vectors, I took their cross product to find the normal. Also it is important to not forget to multiply the inverse transpose of the transformation matrix with the calculated normal vector to find the correct normal of the surface for correct lighting.
In the end, in fragment shader, I first calculated the ambient lighting. Then, using the position of the fragment and the normal vector, for every point light in the scene, I found the specular and diffuse shading effects and added these to get the color of the fragment.
After doing all these steps I was able to render beautiful and smooth Bezier Surfaces in my OpenGL program.
 |
| Figure 5: rendering of input1 |
 |
| Figure 6: rendering of input3 |
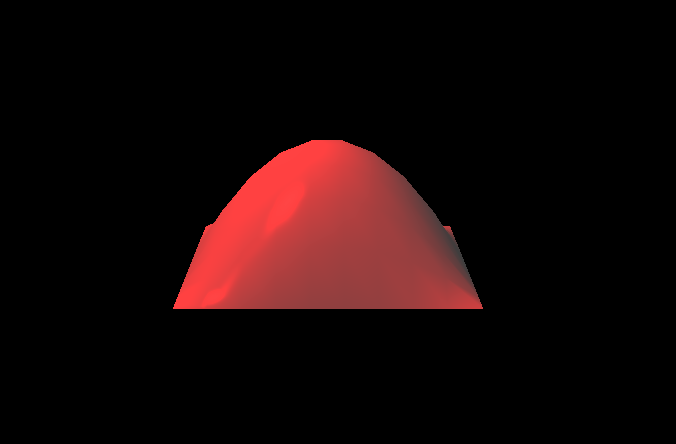 |
| Figure 7: rendering of input1 with small coordMultiplier value |
 |
| Figure 8: rendering of input2 with big coordMultiplier value |
Comments
Post a Comment