Quaternions and Procedural Noise
Welcome to my third blog post which will about our third assignment in Computer Graphics 2 class.
In this assignment, we were asked to implement a plane-like movement camera in an environment which has cloud texture made with Perlin Noise.
Transformation with quaternions
I first started with implementing the plane like movements which are yaw, pitch and roll of the camera using quaternions.
To capture the movements, I first created three vectors which represents the axises of the environment. Then, everytime the user presses a button to change the rotation, I calculated the related quaternion and applied it on these axises. Then I did all my other calculations (such as placing the quad for cloud texture which will be mentioned in a bit) according to those axises.
glm::mat4 rotationmatrix = glm::toMat4(rollQuat) * glm::toMat4(pitchQuat) * glm::toMat4(yawQuat);
Here is a snippet of how it looks in the end:
An important note to pay attention here is that we should apply the transformations only on the instant the user inputs. If you accumulate the total degrees and apply the transformation on every frame like I first did you can get a cool turbulance effect.
Cloud Texture using Perlin Noise
My next challenge was to create cloud texture on a quad which will be in front of the camera at all times and look like a 3D cloud with a height offset. I implemented so that the quad will be on front of the camera with distance 1 at all times. To do this I put the quad on the axises mentioned above and translate it 1 value away from the camera in the calcuted x axis.
We used ray marching here to create the 3D cloud effect.
After trying many step sizes and step counts I decided that my cloud looks the best with 0.05 step size and 200 steps.
Another challenge here is the blending of the texture to the background skybox texture. I used the blending function of OpenGL with parameters:
The alpha value would be equal to 0.1 for places with no cloud and to 1 with places full of cloud.
This results in a smooth blending of our clouds to the background.
We were also asked to have a height offset of our clouds so no clouds will be present under some
specific height. I did this by making the density of the step equal to 0.01 when that point on the
ray has height more than 0.4.
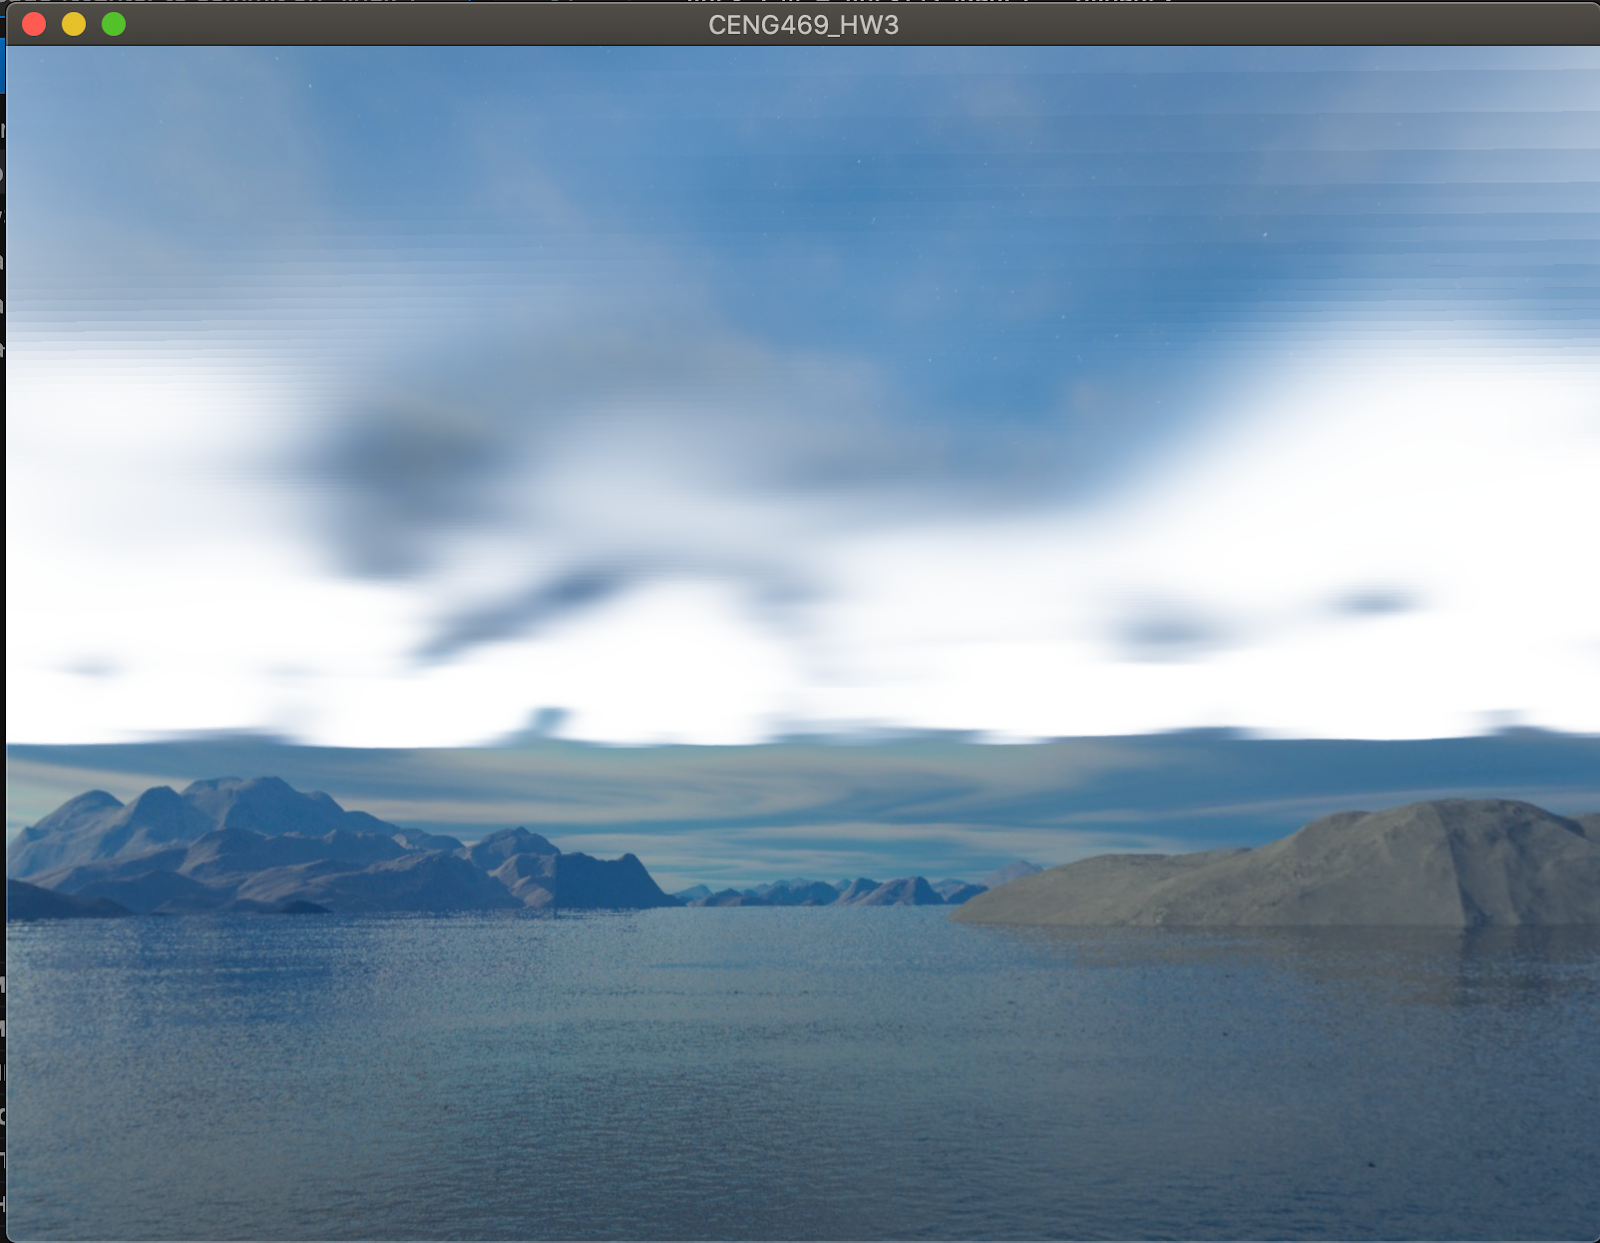
Here is some result pictures:

Camera Movement with velocity
Lastly we needed to make the camera with a velocity that can be changed by user input.
For this I also used the axis I mentioned before. In short, I changed the position of the camera a value of
velocity * xAxis in every frame by first putting the camera on the axis with the transformations.
I did not apply this position to the camera for the skybox texture to get an infinite environment but on the
cloud texture quad to make it look like we are flying through the clouds.
Here is the final look:
Thanks for reading my blog and hope to see you in my next blog which will be about my individual project
on this course ! :)


Comments
Post a Comment