Posts

My Snow Simulation

Image
 Welcome to my last blog for our course CENG469 Computer Graphics 2! This blog will be about our final project which we chose the subject ourselves.  I chose to simulate a falling snow and its accumulation on ground as I am in the end a winter child and also wanted to create something I encounter while playing my favourite games. I implemented a particle system to simulate the falling snow and used displacement map to show the accumulation. I will again explain my implementation step by step. Snow Particles First step was generating the snow particles. To do this I implemented a snowflake struct which has the necessary attributes position, size, velocity and direction vector. In every frame, I created a new snowflake with random attributes and erased them when they hit the ground. Also I added and normalized their direction vector with another random vector to create the chaotic movement of snow fall. struct Snowflake { Snowflake ( glm :: vec3 p , glm :: vec3 d , float ...
Quaternions and Procedural Noise

Image
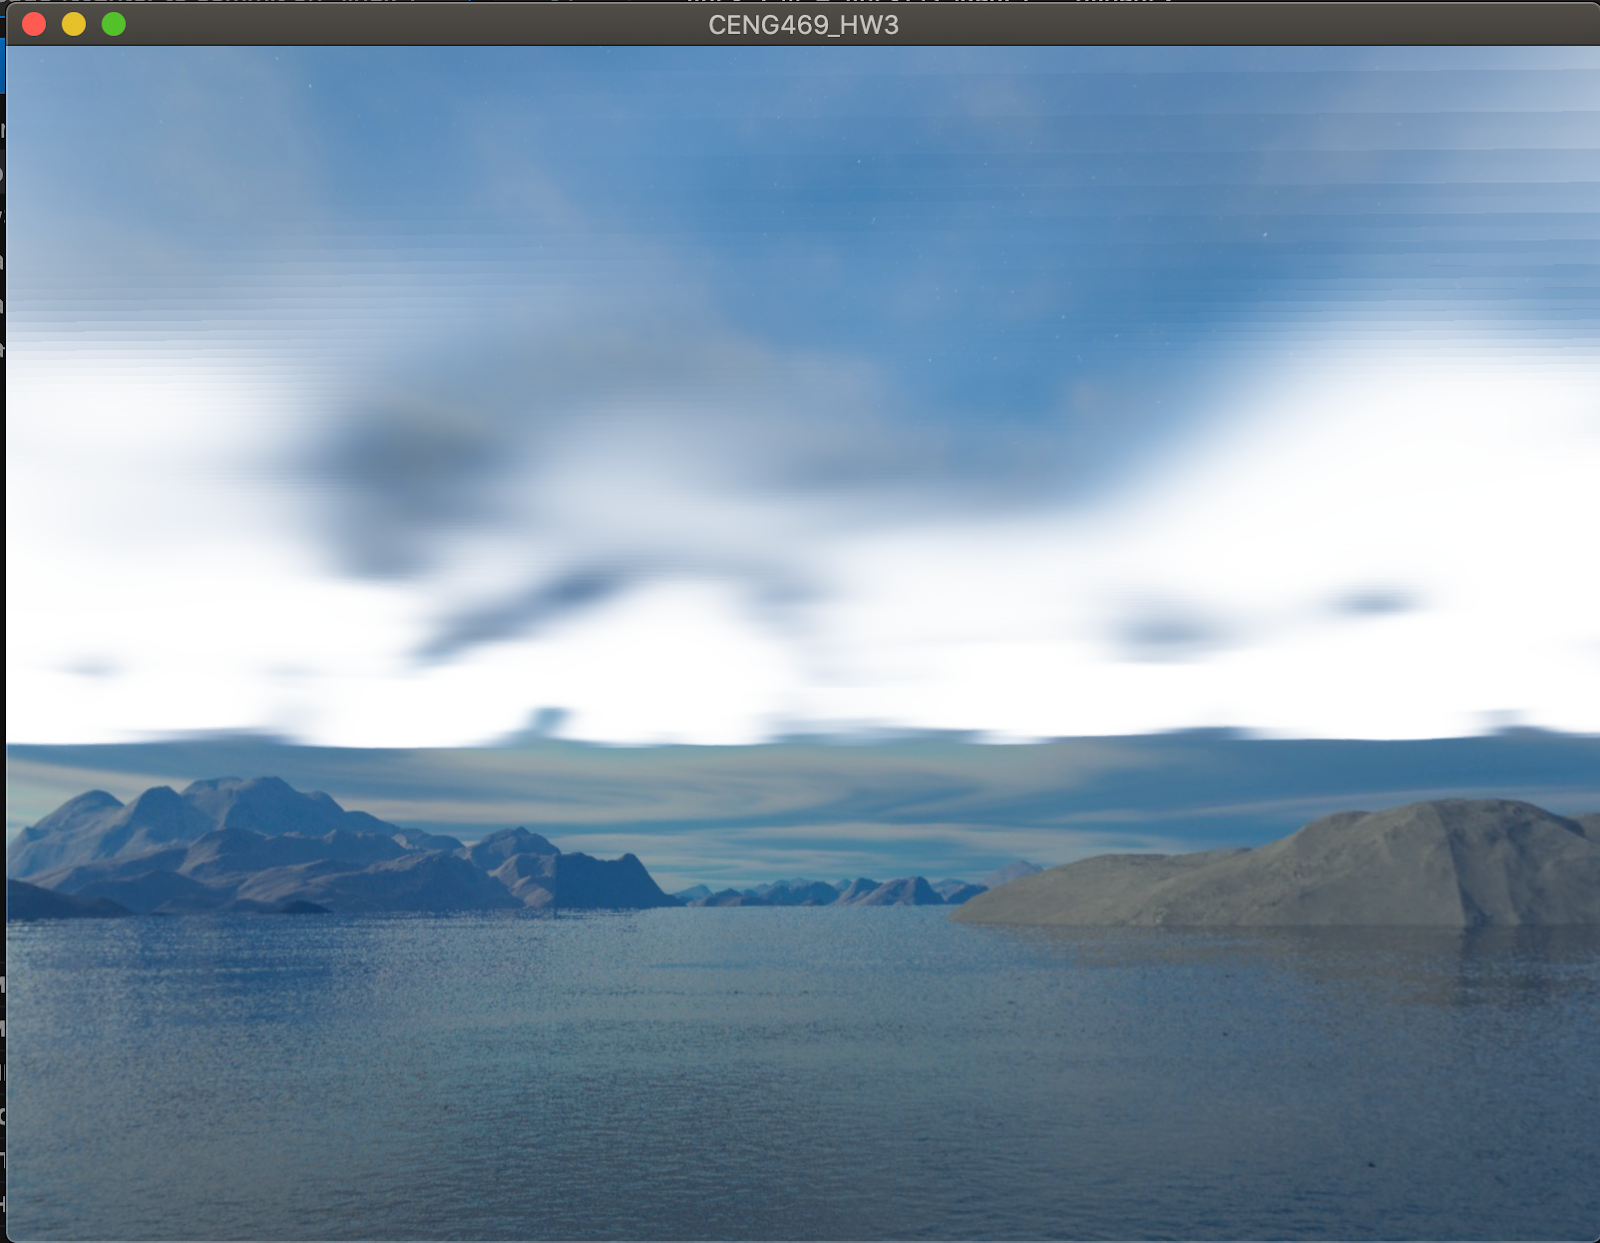
 Welcome to my third blog post which will about our third assignment in Computer Graphics 2 class. In this assignment, we were asked to implement a plane-like movement camera in an environment which has cloud texture made with Perlin Noise. Transformation with quaternions I first started with implementing the plane like movements which are yaw, pitch and roll of the camera using quaternions. To capture the movements, I first created three vectors which represents the axises of the environment. Then, everytime the user presses a button to change the rotation, I calculated the related quaternion and applied it on these axises. Then I did all my other calculations (such as placing the quad for cloud texture which will be mentioned in a bit) according to those axises. glm :: mat4 rotationmatrix = glm :: toMat4 ( rollQuat ) * glm :: toMat4 ( pitchQuat ) * glm :: toMat4 ( yawQuat ); xAxis = glm :: normalize ( rotationmatrix * xAxis ); yAxis = glm :: normalize ( rotationmatrix ...

Cubemaps and Reflections

Image
           Welcome to my second blogpost about our 2nd homework in Computer Graphics 2 class.     In this assignment we worked with static and dynamic cubemaps and reflections. Again I worked step by step and I will be sharing my process with you. Figure 0: HW2 final result First Step: Static Cubemap      Firstly, I wanted to show our environment correctly before going to other steps. This is done with static cubemapping. After creating a cubemap texture from the given 6 images, I put these textures on a cube object with [-1,1] dimensions to work correctly with texture coordinates. After putting my camera on (0,0,0) position, I was able to see my environment.  Figure 1: Static cubemap result Second Step: Ground Texture      After showing environment, I wanted to show the ground. I used the ground object that was given to me. But in addition I assigned it texture coordinates given below, to create a repeated textu...

Surface Rendering with Bezier Surfaces

Image
Welcome to my first blog post which will be about our first assignment in CENG469.      In this assignment we were asked render the surface whose information was given in the input with ambient lighting and diffuse and specular shading effects of the given point lights. We also needed to be able to change the sample size, rotation angle and coordinates of this surface according to user interaction. First step: Render a flat surface      Firstly, I wanted to be able render a flat surface without any height component on the XY plane. First step was parsing the input and calculating how many vertical and horizontal bezier surfaces there are. Instead of sending all of the vertices to vertex shader at once, I have created sampleSize x sampleSize vertex buffer and created its index array buffer. Then for every bezier surface, I sent this buffer to vertex shader with the horizontal and vertical Bezier surface counts and the surface’s index. Using these data, verte...